
Logging into an application should be simple for users but still safe and secure. Traditional logins with usernames and passwords work, but they can be inconvenient and sometimes risky if passwords are stolen. A one-time token login offers a solution—it’s both easy for users and secure.
In this blog post, I’ll show you how to build a login system using one-time tokens in a Spring Boot application. We’ll use Spring Security and integrate it with Vaadin.
Spring Security One-Time Token Login
In short, One-Time Tokens (OTT) offer a simple way to authenticate users without requiring extra account setup. This sets them apart from One-Time Passwords (OTP), which usually involve a more complicated setup process and depend on external tools for generating tokens.
Since Spring Security 6.4, support for One-Time Tokens is available. This login method works in two simple steps:
- The user requests a token by providing their identifier, usually a username. The token is then sent to them via email, SMS, or another method, often as a Magic Link.
- The user submits the token to the one-time token login endpoint. If the token is valid, they are logged in successfully.
Security Configuration with Vaadin
In this section we weill configure Spring Security for Vaadin. VaadinWebSecurity offers Spring Security integation with Vaadin and is used as the base class.
Configure Login
The one-time token login is configured on line 11 and 12. The standard Login form is used that will then also contain a field to submit the one-time token. In a later post I will show how to integrate the form with Vaadin.
@EnableWebSecurity
@Configuration
public class SecurityConfiguration extends VaadinWebSecurity {

    @Override
    protected void configure(HttpSecurity http) throws Exception {
        http.authorizeHttpRequests(c -> c
                .requestMatchers(new AntPathRequestMatcher("/images/*.png"))
                .permitAll());

        http.formLogin(Customizer.withDefaults())
                .oneTimeTokenLogin(Customizer.withDefaults());

        super.configure(http);
    }
}
Send Magic Link
To send the token to the user a OneTimeTokenGenerationSuccessHandler must be implemented.
This is a dummy implementation and just prints out the magic link to the console. In real-world we would send the token via email or other messaging to the user.
Important is the path that is passed when creating the RedirectOneTimeTokenGenerationSuccessHandler. This will the path the user will be redirected to after the successful login.
@Component
public class MagicLinkOneTimeTokenGenerationSuccessHandler implements OneTimeTokenGenerationSuccessHandler {

    private final OneTimeTokenGenerationSuccessHandler redirectHandler = new RedirectOneTimeTokenGenerationSuccessHandler("/");

    @Override
    public void handle(HttpServletRequest request, HttpServletResponse response, OneTimeToken oneTimeToken) throws IOException, ServletException {
        UriComponentsBuilder builder = UriComponentsBuilder.fromUriString(UrlUtils.buildFullRequestUrl(request))
                .replacePath(request.getContextPath())
                .replaceQuery(null)
                .fragment(null)
                .path("/login/ott")
                .queryParam("token", oneTimeToken.getTokenValue());
        String magicLink = builder.toUriString();

        System.out.println(magicLink);

        this.redirectHandler.handle(request, response, oneTimeToken);
    }
}
Secure the Vaadin Route
We can use role-based security as usual:
@RolesAllowed({Roles.USER, Roles.ADMIN})
@Route("")
public class MainView extends VerticalLayout {
public MainView() {
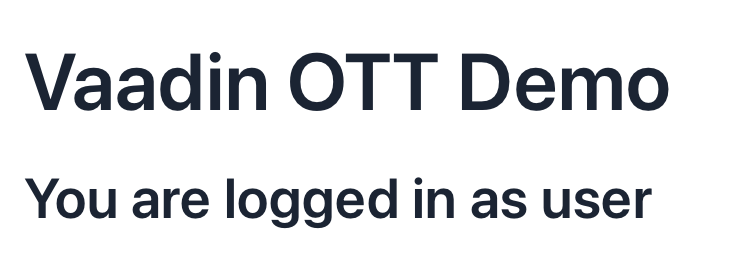
add(new H1("Vaadin OTT Demo"));
add(new H2("You are logged in as " + SecurityContextHolder.getContext().getAuthentication().getName()));
}
}
Action!
1. The user tries to access https://localhost:8080. The login form will be displayed:
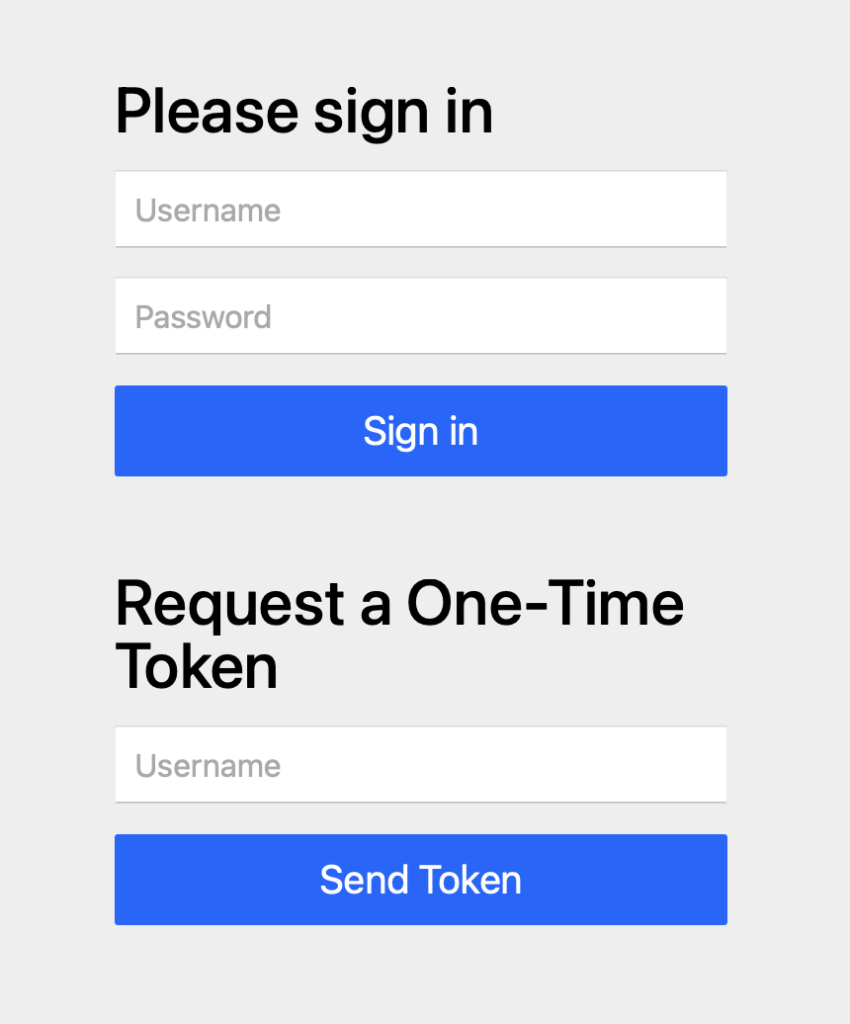
2. The user enters the username and clicks on Send Token:

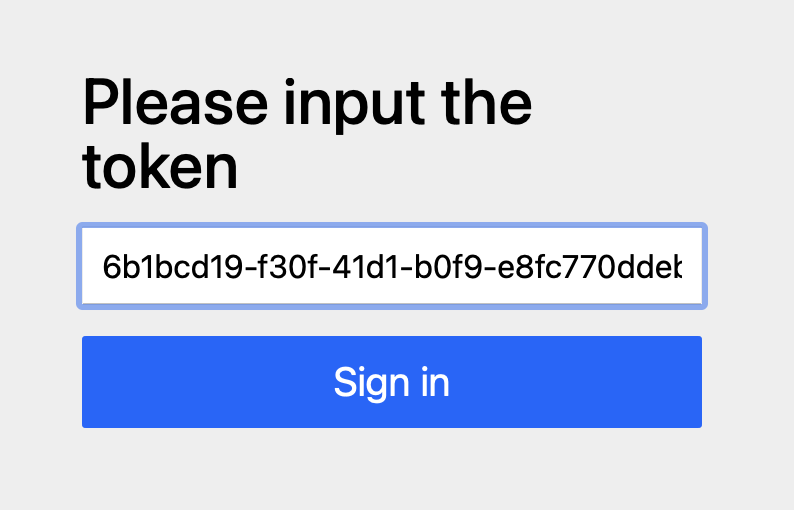
3. The magic link is generated and the user clicks on the link:
http://localhost:8080/login/ott?token=6b1bcd19-f30f-41d1-b0f9-e8fc770ddebd
4. The user is redirected to a page to enter the token that is already prefilled:
5. The user is redirected to the path defined in the RedirectOneTimeTokenGenerationSuccessHandler
Conclusion and Links
Integrating a one-time token login in Vaadin is simple thanks to the superb Spring Security support.
You can find a detailed description in the Spring Security documentation: https://docs.spring.io/spring-security/reference/servlet/authentication/onetimetoken.html
The source code of this example is available on Github: https://github.com/simasch/vaadin-one-time-token-login