
Heroku is a platform as a service (PaaS) that enables developers to build, run, and operate applications entirely in the cloud. I’ve used Heroku for some smaller projects in the past and, it was very easy to use. So why not try to run a Vaadin application on this platform.
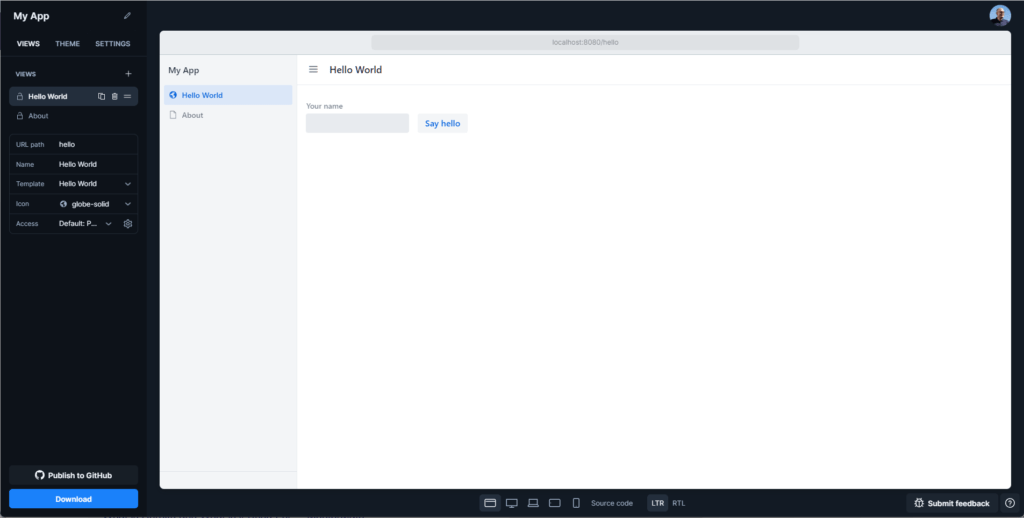
Creating the Vaadin Application
Creating a Vaadin Application is very simple. Just go to start.vaadin.com
Make sure that you keep the setting “Git repository” checked as we will use Git to deploy to Heroku:

Finally, click the “Download” button and extract the ZIP file to a local directory.
Heroku Setup
First, you’ll need to create an account: signup.heroku.com and then you have to install the CLI.
Once done simply log in:
heroku login
Deploy the Application
As I already mentioned, we are going to deploy our application using Git. As a first step we need to create an app on Heroku. The command creates an app with a random name. You can change the name as you like or specify it when creating.
heroku create
Before we can deploy the application by simply pushing the code to the Heroku Git repo we need to configure two important things.
First, we use Java 17 but the default Java version on Heroku is still 8. To change the Java version we add a file called system.properties to the project directory with this content
java.runtime.version=17
Then we need to change the Maven options because we need to execute the Maven build with the production profile enabled. (Check out the Vaadin documentation for more information about production builds).
This can be done like this:
heroku config:set MAVEN_CUSTOM_OPTS="-DskipTests=true -Pproduction"
The -DskipTests is default and we add -Pproduction to activate the production profile.
Now it’s time to add the files to Git. On line 1 we add all the files, line 2 commits it and finally on line 3 we push the branch main to the Heroku Git repository.
git add .
git commit -a 'Initial commit'
git push heroku main
Verify Deployment & Access Application
If the build and the deployment was successful you should see a similar output:
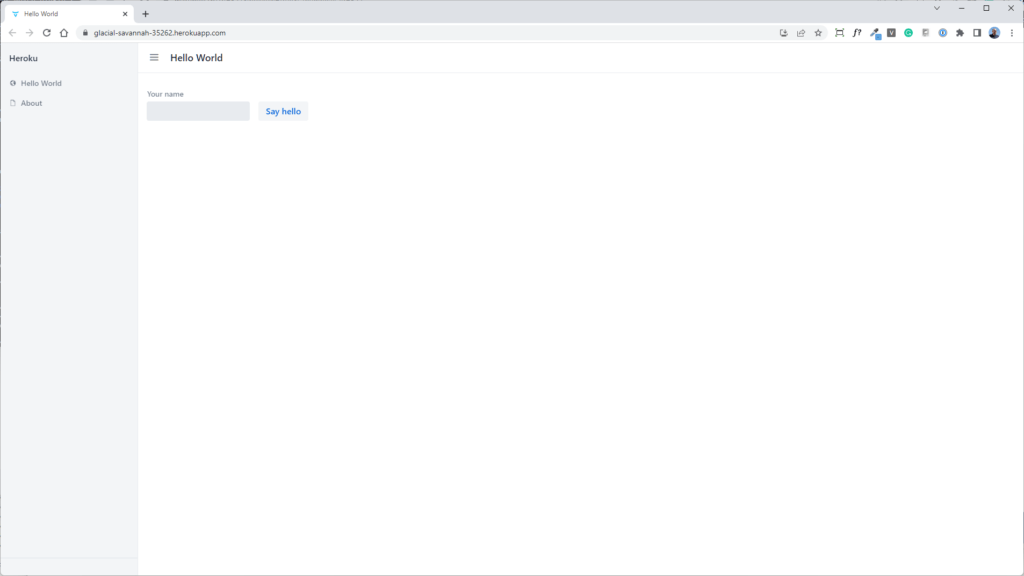
remote:        [INFO] BUILD SUCCESS
remote:        [INFO] ------------------------------------------------------------------------
remote:        [INFO] Total time:  01:21 min
remote:        [INFO] Finished at: 2022-07-26T08:12:47Z
remote:        [INFO] ------------------------------------------------------------------------
remote: -----> Discovering process types
remote:        Procfile declares types     -> (none)
remote:        Default types for buildpack -> web
remote:
remote: -----> Compressing...
remote:        Done: 263.5M
remote: -----> Launching...
remote:        Released v5
remote:        https://glacial-savannah-35262.herokuapp.com/ deployed to Heroku
To check if the application runs you simply execute the open command:
heroku open
The browser will open with your application:
Scaling with Session State
If you want to scale the application on Heroku you have to consider that Vaadin relays on session state. So you have to add session affinity. This can be easily done with this command:
heroku features:enable http-session-affinity
Read more about session affinity in the Heroku documentation.
Conclusion
In my opinion, Heroku is the simplest Cloud PaaS to use. Besides the configuration of the Java version and activating the Maven profile, it was straightforward.
In one of the next blog posts, I will show you how to connect the Vaadin application to a PostgreSQL database. Stay tuned!
Need help configuring your Vaadin app for Heroku? Contact me for personalized assistance.